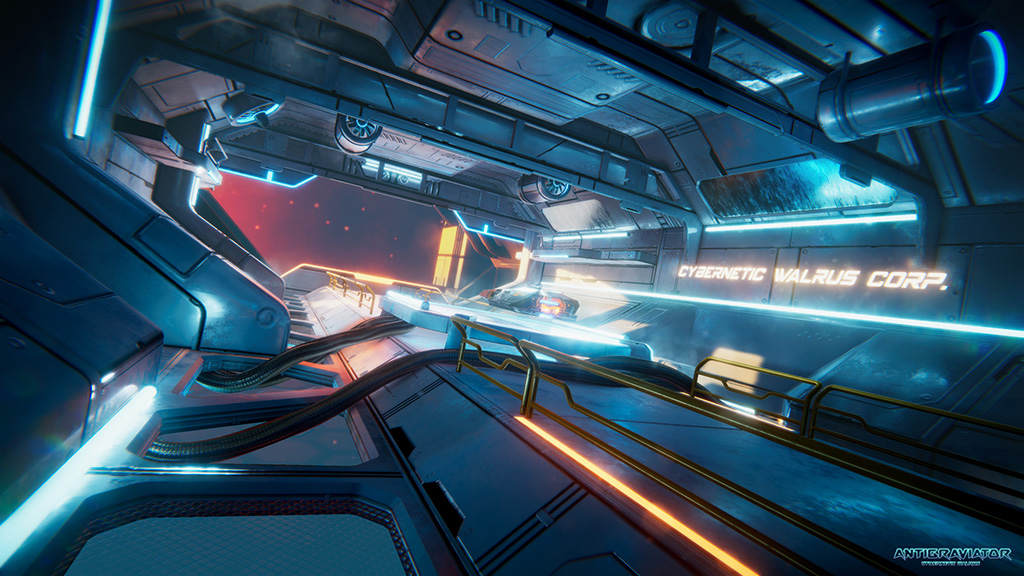
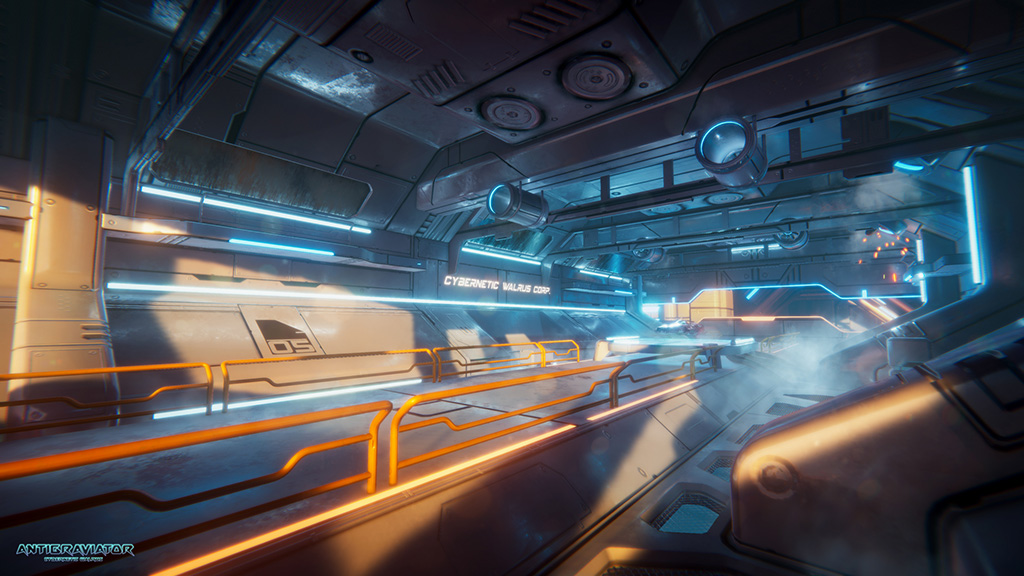
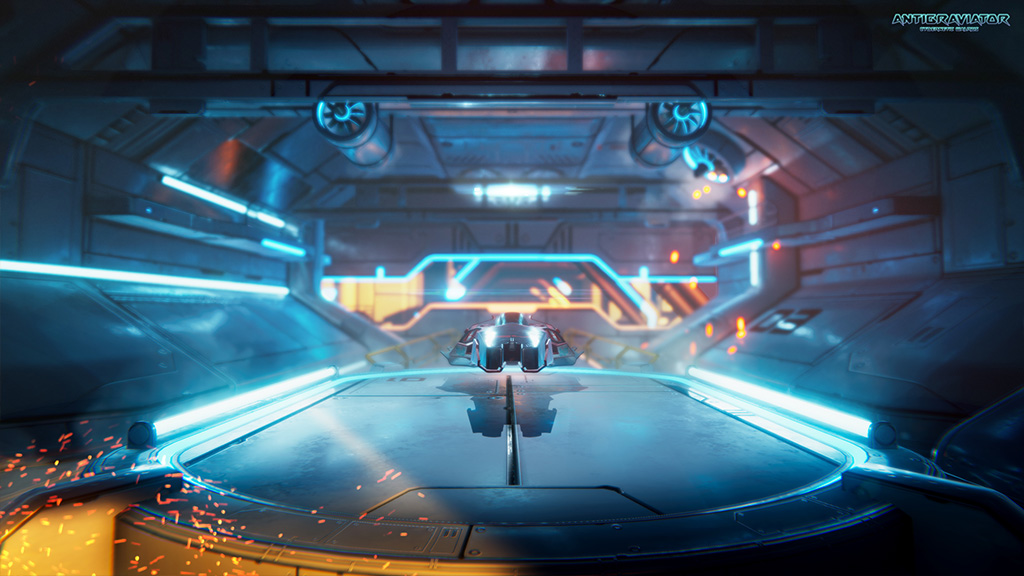
When building environment textures for a game, it is always a good idea to think about its re-usability. Tiling textures or trims are great examples for this. If used wisely and combined with smart shader tricks, they can greatly reduce resource usage, increase performance and save time at once. This of course depends on the environment style you are choosing to do. In our case, clean sci-fi is probably the most optimal for this kind of approach, mainly due to simplicity of man-made shapes and panel layouts.

While building this menu environment scene, I wanted to go overboard and challenge myself by using one optimized texture for most the scene. It allows for easy adjustments since most of the environment depends on a single texture. It is a good educational practice, however I soon realized that there is almost always a need for a bit of custom details, such as decals and text to break up the tone. Color and surface variation was done through a shader.
While building a reusable texture, or basically a sheet of details for an environment, it is crucial to plan things ahead. It is important to have different varieties of details, while making sure they belong in the same style. Particularly in Antigraviator, things like panels of different sizes, bolts, cables, cylindrical parts, vents, etc. can all come in handy, on which UVs of props can be directly mapped onto.

Speaking of optimization, it is interesting to realize that each channel of any RGB(A) texture can be used as different black and white mask. Entire sets of textures can be made from separate masks in these channels. As a practical example, the blue channel of a normal map contains information that is meant to add a bit of depth to the texture, but has nearly no effect. I made use of this and replaced it with an AO map instead. A good practice is to work with masks instead of final texture information. This can be any black and white mask, for example one to separate different materials on a mesh, such as plastic/paint or metal parts. To utilize these tricks, you of course would need a custom shader, this is where Shader Forge or any other custom shader solution comes in handy.
The workflow for this usually consists of making a lowpoly mesh first. In case you can afford a few more triangles, chamfering edges once and using face weighted normals can be a great way of getting rid of obvious sharp edges while improving the silhouette. After this is in place, it is mostly a matter of mapping different parts of the prop onto the detail texture sheet in a logical way.

For further reading, this technique was inspired by talented artists on here and here.
